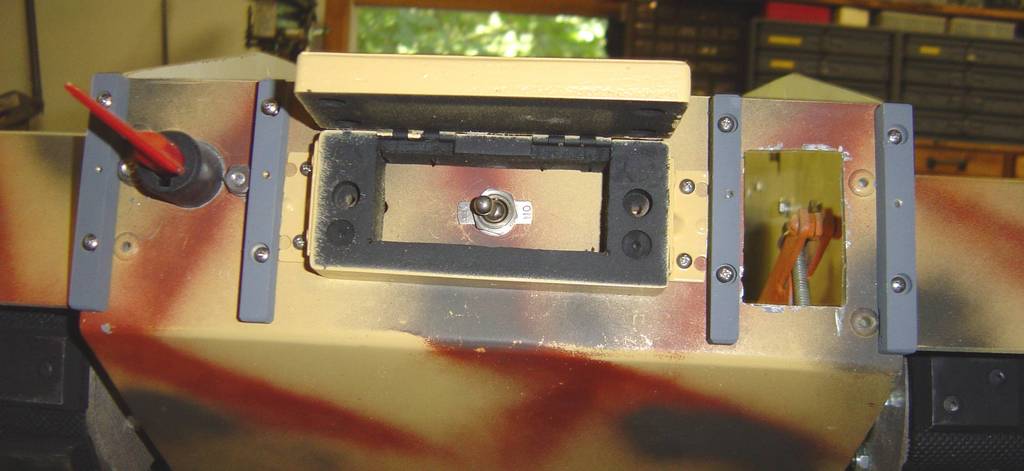
Rear of the tank. Far left, main power switch. Center, switch to power up electronics. Far right, cut out for the receiver. We think that Paul might have had signal interference from the aluminum. So I made a cut out to eliminate that possibility.
Note: Have since converted back to Airtronics transmitter and receiver. Totally eliminated signal problems. Whip antenna is now functional.
Spare tracks and storage bin protect the switches and the receiver.
Click Photo For Enlargement (109 Kb)
Click Photo For Enlargement (78 Kb)
Interior layout. A couple of angle brackets make for a perfect battery park. @ 12volt 18ah for main power and a smaller 12volt 4ah to power the electronics. The rubber ends from a previously cut up strap made perfect bumpers for the batteries. The orange cams are now ready to tension the rear axle.
The brain. Have no clue how it works, but it does thanks to Frank.
Click Photo For Enlargement (449 Kb)
Click Photo For Enlargement (471 Kb)
The scooter controllers that have been discussed on our website. Very compact and slung under the electronics.
Ready for it's trial run. The road wheels were from surplus center, just needed some minor mods and they were perfect. Hard to tell in the photo, but there are actually 8 wheels per side. The 3 in the back are actually doubles. They are spaced for the tooth on the track.
Same for the idler also.
Click Photo For Enlargement (120 Kb)
Click Photo For Enlargement (52 Kb)
on assignment
Following a recent software upgrade, the Panzer II travels at a much better rate. Less than 40% full power, but loads of torque. Near the end you can see the tank making turns with one track locked. It's soooo suwheeet.
Click Photo For Enlargement (96 Kb)
The following pictures show my hopper and ammo delivery system. The hopper is attached to the cupola. It is made from some brass mesh and a carefully sliced piece of 3/4" copper pipe. Small wire brads and some glue help to keep the mesh in place.
The tube has a down angle built in from left to right. The mesh also has a slight grade to help feed the balls into the main channel.